Ultrasonic PowerLine Arc Detector Project
Presented here, are some pictures and information on an Ultrasonic Power Line Arc Detector that I constructed, based upon an article by James Hanson, W1TRC, in the April 2006 QST Magazine. The original QST article can be found at: http://www.arrl.org/files/file/Technology/PLN/Ultrasonic_Pinpointer.pdf
When used with the 135 MHz Portable beam antenna (Also designed by W1TRC, More info HERE) you will have a very effective system for tracking down RFI problems.
Once I have localized the problem pole, using the 135 MHz beam, I use the Ultrasonic Arc detector to identify the exact location of the noise source. Standing on the ground under the pole, you can easily determine which component on the pole is causing the problem. Loose hardware, bad cutouts, insulators, and lightning arrestors can be heard with the detector.
From actual experience; if you hear any noise at all, no matter how weak, there is a problem. Sometimes you have to listen very carefully. Try adjusting the frequency control to make any noise you might hear, more audible. When is pole is “Clean”, you should not hear anything but the background “hiss” generated by the detector. Most power companies have a smaller version of an ultrasonic detector, that can be attached to a “Hot Stick”. This unit can be moved very close to each component on the pole to confirm the identity the “culprit”.
W1TRC’s article does a wonderful job of explaining construction and operation of the Ultrasonic Power Line Arc Detector, so it is not my intention to go into this. If you carefully read and follow his instructions, you will be very pleased with the results. It has recently come to my attention that a PC Board was designed by Tom Hammond, N0SS and is available from FAR CIRCUITS for $5.00. Tom read my article and kindly provided me one of the boards, which works very well. (Much better than my original breadboard J) Tom also provided me with a copy of the schematic, construction notes from Jim Hansen, W1TRC, a detailed parts list, and a cover label, which can be found at http://www.farcircuits.net/w1rtc_notes1.pdf
When you are out in the field using the detector, just rub your thumb and finger together in front of the dish, to verify the unit is working. I live in a very dry climate, and have very dry skin. The detector can easily detect my fingers being rubbed together from 10 feet away! Remember this unit is detecting noises generated at 40 KHz.
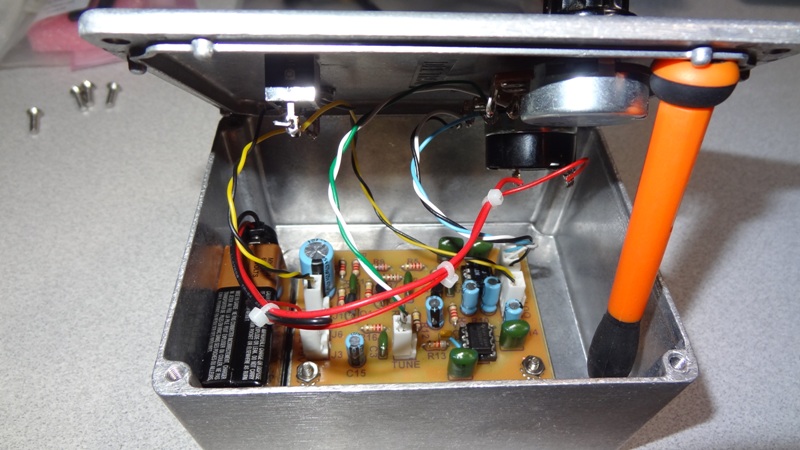
I highly recommend using an aluminum enclosure for the amplifier. My original amplifier enclosure was a plastic box which allowed the amplifier to break into oscillation when the volume control was turned up more than half way. The new diecast aluminum enclosure eliminated this problem.
I want to really thank Tom, N0SS, and James Hansen for such a useful project.
Good Luck, and happy hunting!
73’s Frank, K7SFN
Front View of 20 Inch Parabolic Reflector
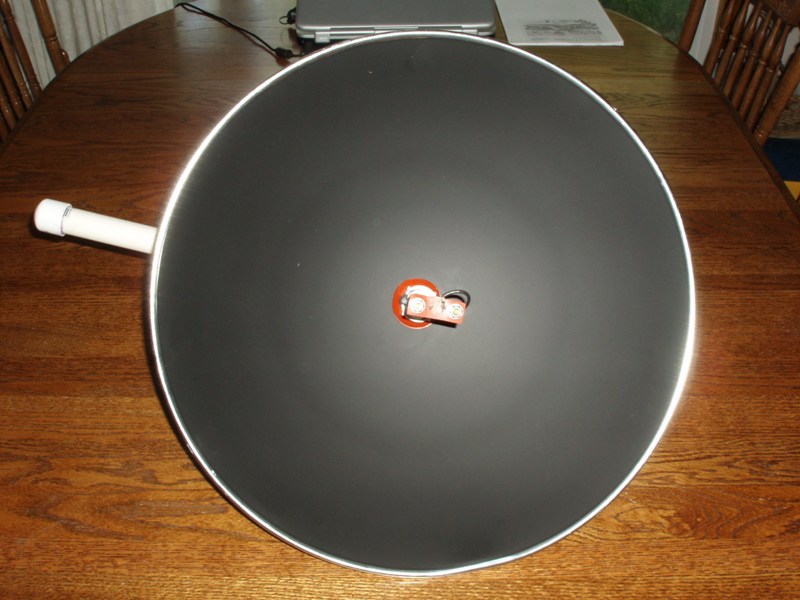
Closeup of Ultrasonic Detector and Dish Feedpoint

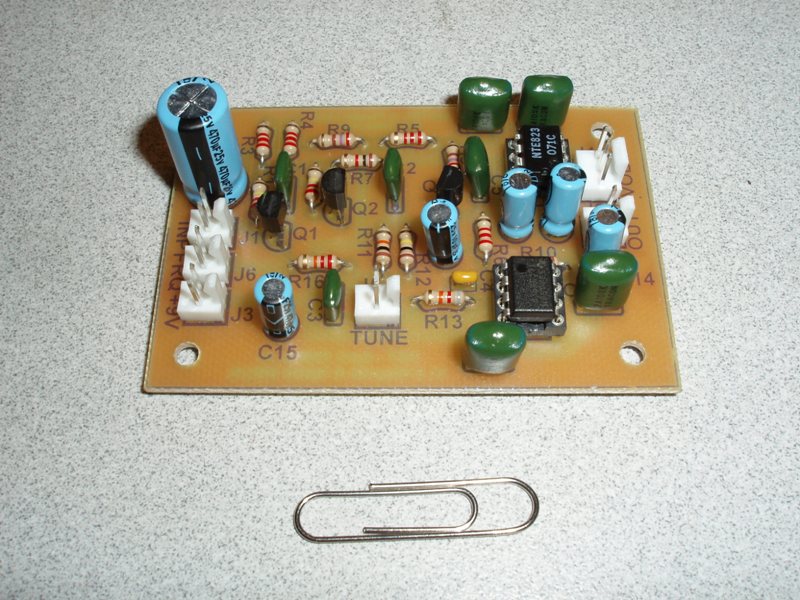
Far Circuits Amplifier PC Board
Enclosure Inside Showing Wiring
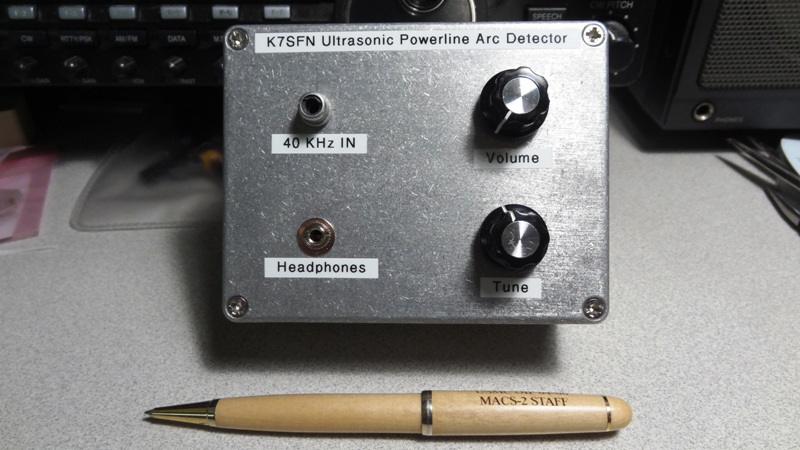
Diecast Aluminum Amplifier Enclosure
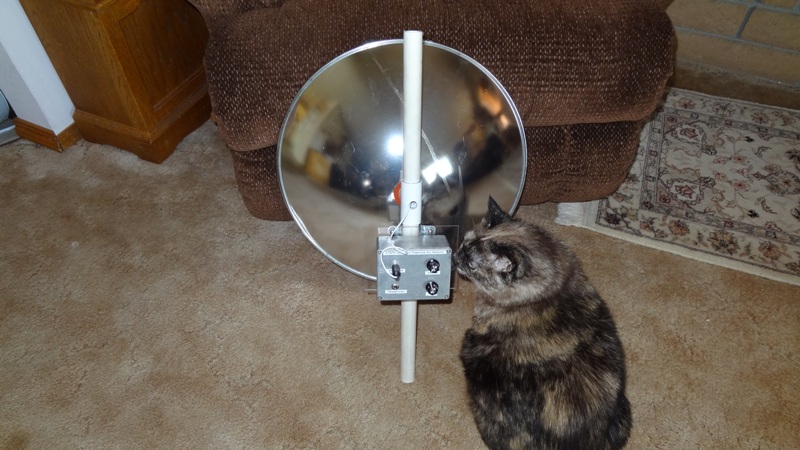
Rear View of Unit Showing Amplifier Mounting (My Assistant - Koko)
73's and Good Hunting.
K7SFN